This Glamping trip was so fun and we got so many great photos that I wanted to be sure to share plenty of them with you. So this is going to be a longer than normal post. I hope you enjoy looking around!

Earlier this summer we went camping in our local Southern California mountains. Only we didn't just want to go camping, we had a DIY Glamping weekend. If you aren't familiar with Glamping, it means literally glamorous camping. So rather than just sleeping in sleeping bags and having a lantern, we took it up several notches using fine linens, air beds, chandeliers, romantic lighting, candles, flowers and more.

When we arrived at the campground we first spread everything out on the table to see what we were working with. Tents went up and then it was time to have some decorating fun. We did get a bit of a drizzle/sprinkling rain the first night so some items couldn't come out until morning. Luckily the rain didn't amount to much more than a light sprinkle and we ended up with gorgeous sunny weather all weekend.

Our supportive hubbies and kids helped us set up the basics. Then it was up to myself and my partner in crime Jhen to do the rest.


We decided to deck out a EZ-up frame by using Ikea mesh curtain panels all the way around to add some romantic ambience to our site. A plastic folding table became a beautiful stage for an elegant dinner setting. Sadly we never actually ate at this table since we didn't have room to pack chairs, and we ended up eating out. There were plenty of restaurants in our area and after all when glamping, cooking just wasn't part of our equation. The only actual cooking we did was making s'mores :)

As we were assembling this tent area and then setting the table, many people stopped by to ask us if we were setting up for a wedding. Most were fascinated with the fact that we were Glamping (even men stopped by and thought it was cool).

Our beautiful table once it had been set.


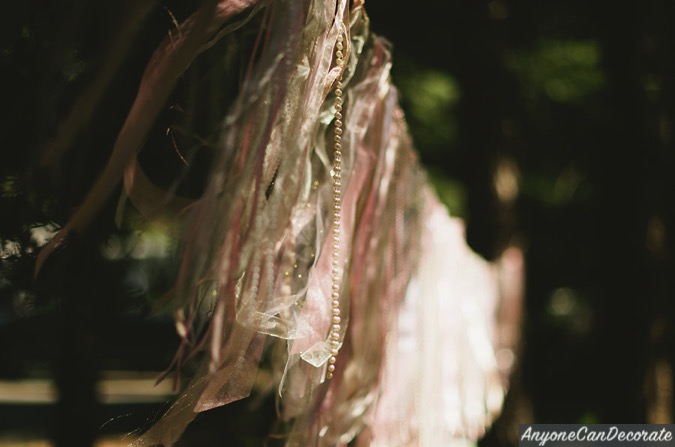
The gauzy mesh fabric looked beautiful as it swayed in the breeze!


Here is the first glimpse of our tents. They are just basic camping tents, but we beautified up the insides. This campground has such a stunning backdrop it made for beauty all around us!


We put a chalkboard sign at the entrance of each tent with each tents name on it. Since the larger tent is a 8-10 person family tent that was used for just my hubby and I, we named it "The Walker Estate".


I used two Air Mattresses side by side to give this a king bed look. We like using two extra long twin mattresses side by side because that way when one of us rolls over it doesn't wake the other person up. Also, my husband likes his mattress firmer and I like mine softer. We are able to adjust the amount of air we put into each to give us each our preferred comfort. To add an extra touch of glam we each added a bed top serving tray.

How sweet is this petite chandelier. We used this same style chandy in both tents. The chandelier is lightweight (weighing less than three pounds) and I used battery operated candle lights in it for safety. The battery operated lights even have a remote control.


The smaller tent was named "Stark Bungalow". We managed to fit a chandelier in both tents proving that no space is too small to glam up!


The lightweight chandeliers were perfect for both of our tents. The battery operated candle lights gave off a perfect soft glow.


We used battery operated string lights and candles all over the site to add nighttime elegance to our space. In the above picture you can see some of the lights even though it wasn't nighttime yet.
Camping and Glamping both would not be complete without making s'mores. Below is our s'more tray which included gluten free graham crackers for those that needed them. The little metal framed chalkboard sign can be found here. We used a white paint pen to make the sign permanent. I also used chalkboard labels on the glass jars.


At night our entire camp was aglow. We had lights, chandeliers and candles everywhere. Most of the lights and candles were battery operated. Some of the string lights were solar powered which was really nice since they come on automatically at dusk and work as long as the sun shines during the day to charge them. Here in California that isn't a problem! I now have the white solar string lights in my back yard and they are wonderful.


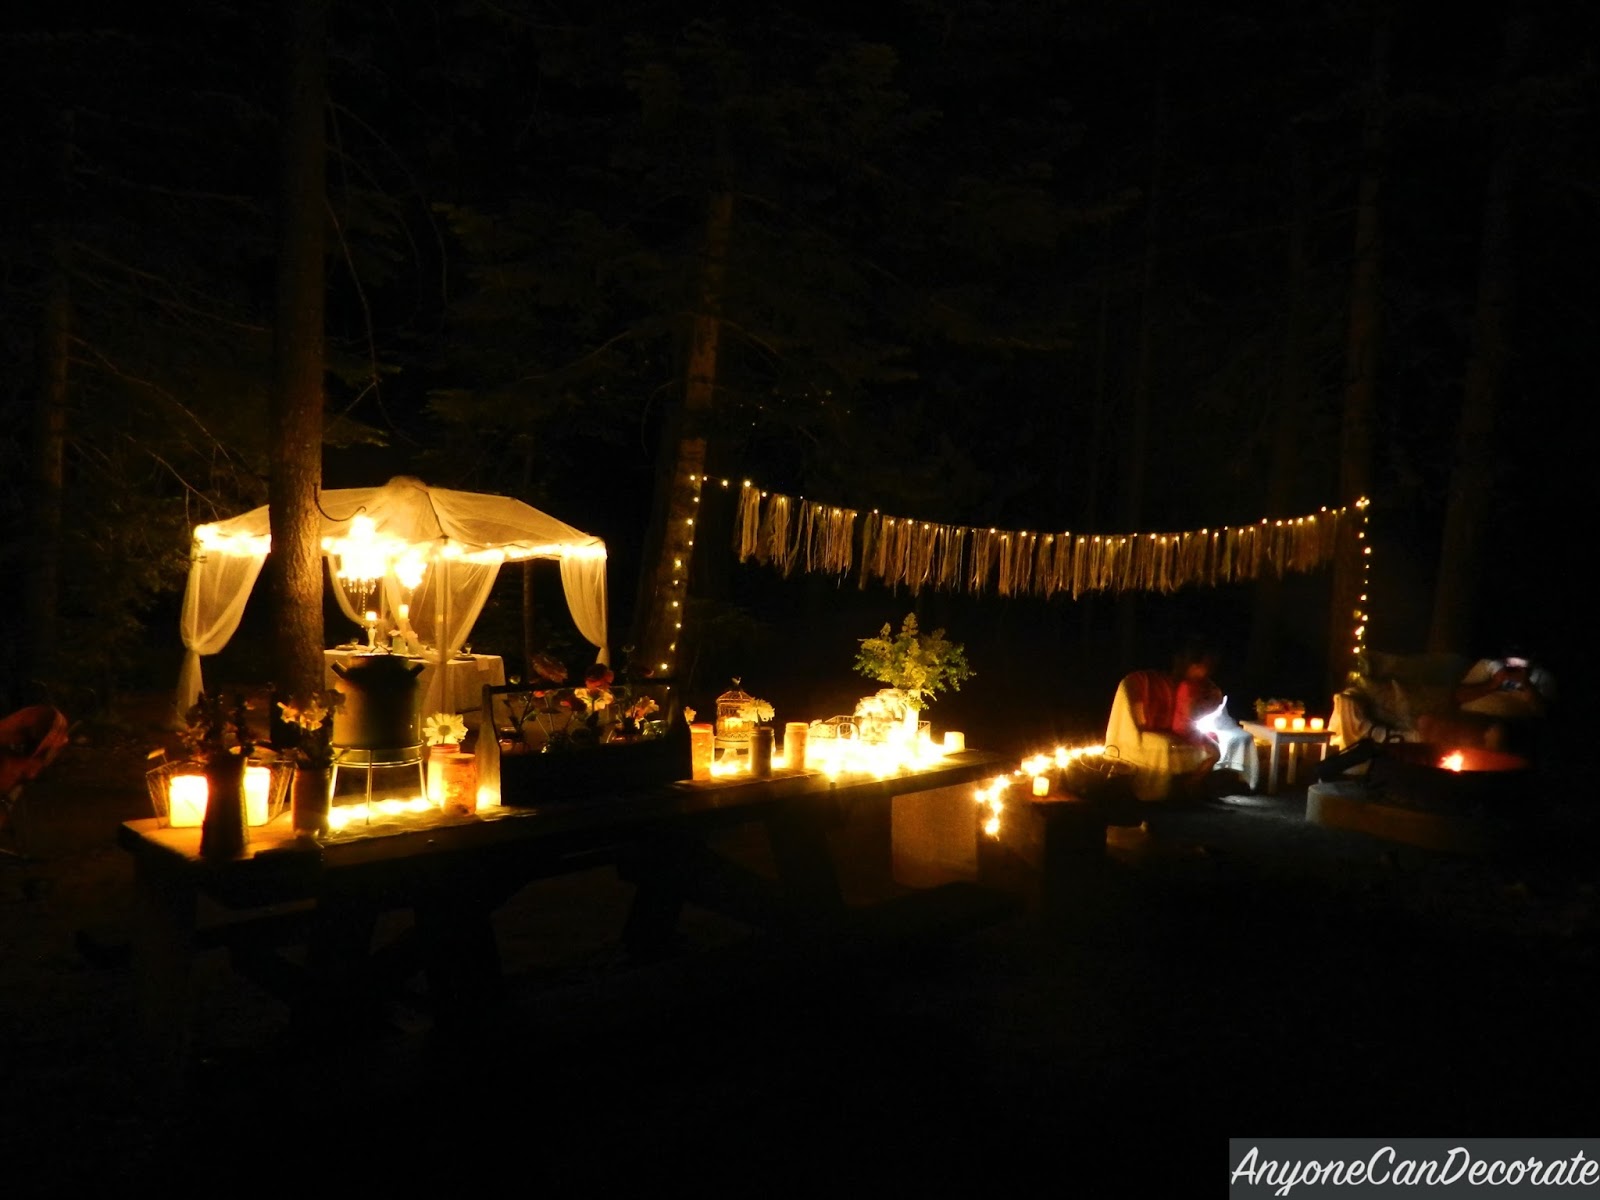


I didn't get a very good photo in the tents after dark, but this next photo gives you the idea of how the lighting felt at night.


We had a few other comforts like this USB solar power charger we used for charging our cell phones, Bluetooth speakers to play music and of course spare batteries for all of the battery powered lights and candles we had all over camp.
I was impressed that all of our battery operated items lasted all weekend and we didn't even need the extra batteries. But I was glad I was prepared!
During the day we had a chance to visit some friends at Lake Arrowhead and spend some time out on their boat. We had a beautiful tour of the lake and then enjoyed a barbecue on their dock.

The house he is pointing at is my favorite house on the lake. It has a double dock house underneath. You can pull a boat right inside your own boat garage.... Lake-house goals :)


Happy Glamping!

Blessings,
xo
Diana
SO much fun glamping with yall! Love this post! :)
ReplyDeleteThanks for everything Jhen!!!
DeleteMy family is have a reunion at a family camp where there is cabins space for rv's and tents. I would love to implement some of these ideas to make our reunion extra special. thank you for the inspiration and taking the time to make such a detailed post. I love the idea of the battery candles I will be keeping an eye out for them.
ReplyDeleteGlad I was able to inspire you!
DeleteYou KNOW how much I love this! It is more than gorgeous and so much fun. I hope you will tag one of your Instagram posts with #meeganmakesfeature so I can feature it on my feed this week! Thanks for inspiring me once again!
ReplyDeleteThanks Meegan! And yes, I will do that :)
DeleteYou've got a special knack for turning a camping trip into an awesome glamping trip. I love that king bed! Hubby and I are going on our first glamping trip soon in the Pink Paradise (aka - our remodeled 1972 Frolic camper) We are going to share a twin bed - lol!
ReplyDeleteThank you so much! Have a wonderful trip :)
DeleteDiana
Wow how did came up with the idea ? Amazing I love it. I would do this for my birthday in August... if I could :)
ReplyDeleteI hope you'll be going "glamping" again soon! I can't wait to see what you do with your campsite next!
ReplyDeleteI loved everything about it!!!
ReplyDeleteI was just wondering how you did the gazebo. I'm about to re-create it but how did you do the top
ReplyDeleteI will try to explain as best as is possible. There are a total of 8 IKEA (netting style) panels on the gazebo. Four are on the top, and other four on the corners. I put four panels on the top, placing each one from a corner to the center/top. I tied all four ends together at the top with twine. Tied the twine about 6" from the ends of the fabric. This allowed me to hide the twine with that six inch overflow of fabric. Notice the poof of fabric at the top center. Then we folded the bottom edges of the fabric around the gazebo outer frame and used safety pins to secure the fabric. I hope that helps!
DeleteSo awesome!! I love everything you did! Thanks for sharing!
ReplyDelete